
Summit Elevation (m): 3080
Trip Date: Sunday, September 10, 2017
Elevation Gain (m): 1500
Round Trip Time (hr): 7
Total Trip Distance (km): 10.5
Quick ‘n Dirty Rating: Class 4 – you fall, you wish you were dead
Difficulty Notes: Some routefinding, steep exposed slabs with debris and a 12 foot nearly vertical wall are topped with an exposed ridge traverse.
Technical Rating: SC7; RE3/4
GPS Track: Gaia
Map: Google Maps
On Sunday, September 10th I joined Cornelius Rott for a jaunt up a Kananaskis peak that’s been on my to-do list for many years now – Mount Lougheed I. 2017 has been all about getting out and trying Rockies adventures that have been on my mind for years and never got around to for some or another reason. Originally Phil was going to join us for another (longer) objective, but plans changed so I asked Cornelius if he was interested in Lougheed. As we’d never done a trip together before, you might be surprised that we choose a difficult Nugara scramble for our first outing. I wasn’t worried because in looking at his web site you realize pretty quickly that Cornelius isn’t easily intimidated by the Rockies and is quite the explorer, having completed many long, difficult and rarely done ascents. When I heard that he’d just completed a “scramble” of both Mythic and Epic Towers the day before, I was wondering if I could keep up with his level of obviously advanced scrambling skills!

There are a few trip reports available online for Lougheed I, but for obvious reasons there are many more for the much easier and official summit of Lougheed II (usually with a no-brainer traverse to III). The trip reports I could find are all part of a traverse from peak I to II, either as a scramble or an alpine climb. Most folks don’t seem to do Lougheed I as a stand-alone trip which is too bad because it deserves more attention from the general scrambling community IMHO. So Nakagawa’s gps track seems to be the one uploaded on ViewRanger’s landscape map, but rather than follow it up blindly, I also considered the route that Jamie Junker used. Of course, we also considered Andrew Nugara’s route beta as outlined in his excellent guidebook. I believe that by combining all these sources we managed to suss out a pretty good return route for this peak that even does a bit of a loop for change of scenery.
We started as Nugara describes and ascended on climber’s left of the drainage. We were surprised to see another car parked on the Spray Lakes road, and hoped we wouldn’t have rock fall issues with another party. I’d heard from more than one source that the bushwhacking on Lougheed really really sucked, as did the loose rock. I was even given advice to ascend to West Wind Pass before traversing over towards the mountain – just to avoid the horrid ‘whacking. I’m happy to report that if you think the bushwhacking on Lougheed I is bad, you are either off route or haven’t really bushwhacked very much! We didn’t find any horrible bush anywhere on our route – just regular Alberta bush. After crossing the High Rockies trail, we continued on the left side of the drainage until it split. This was a bit confusing thanks to steep banks / cliffs along the various drainages but we managed to descend into the main one before following the right hand branch up through an interesting “landscape gate” of sorts with crumbly cliffs on one side and sheer rock on the other.


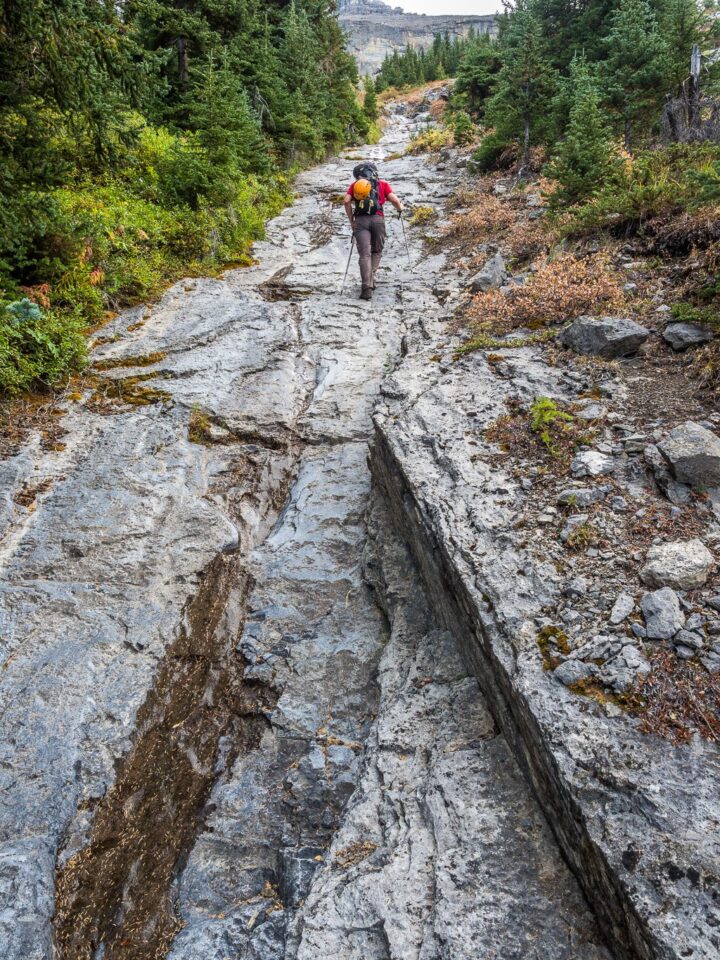
Scared off by Nugara’s description of a “choked up creekbed”, we followed So’s track up steep, forested slopes on climber’s left (north) of the drainage. This worked quite well. We avoided any thick bushwhacking and took advantage of some interesting side-drainages, including a very neat and distinctive staircase drainage the led all the way above treeline to a line of cliffs blocking direct access to the south ridge of the mountain. Here we took a quick break and marveled in our clear views. After a week of thick smoke in the area, courtesy of wildfires burning everywhere, we couldn’t believe the clear, cool, fall air we were experiencing. It’s been a while since I did a scramble in the Spray Lakes area, so it was nice to be back to these familiar views.

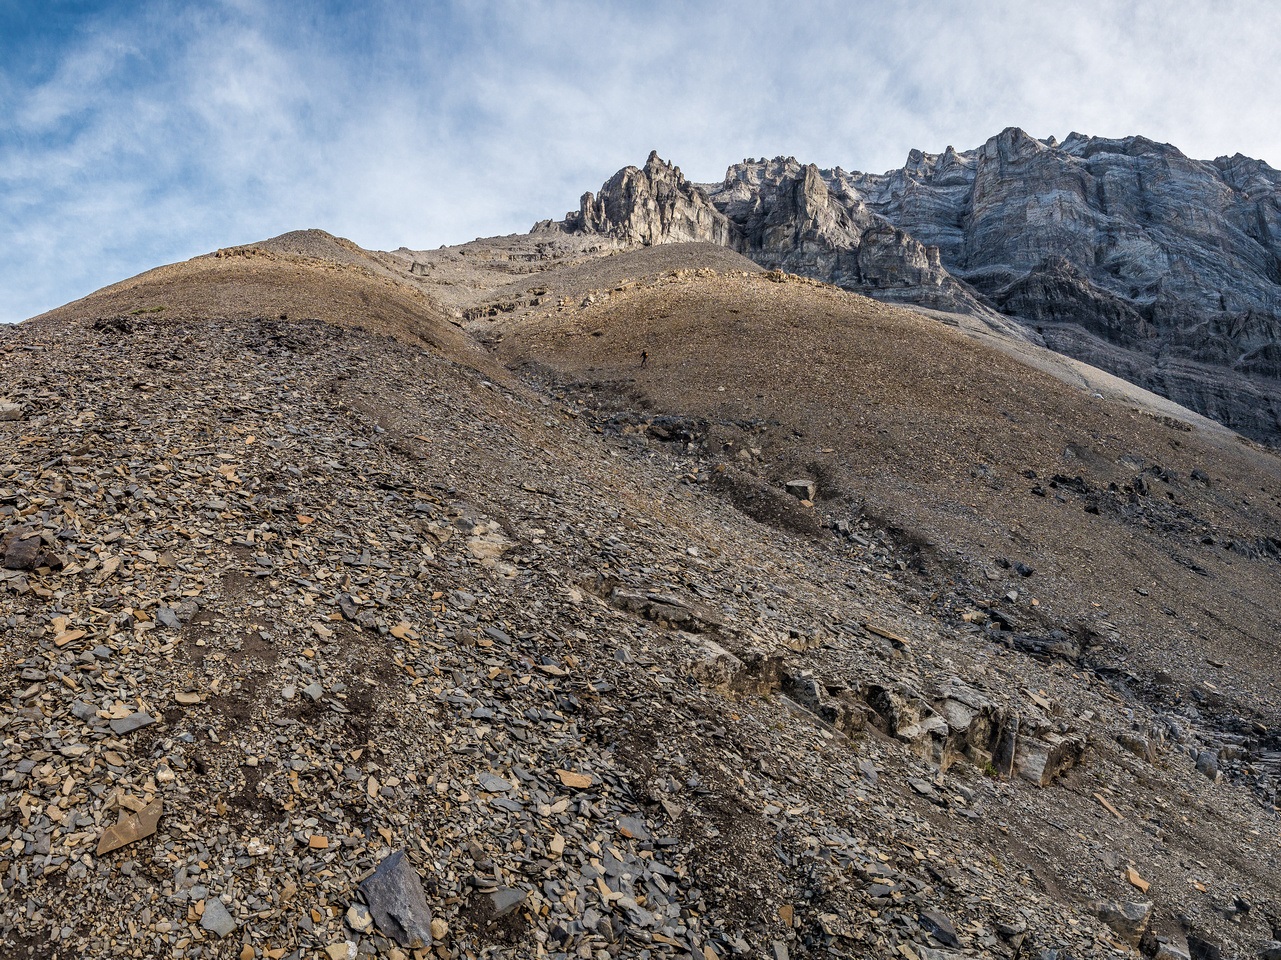
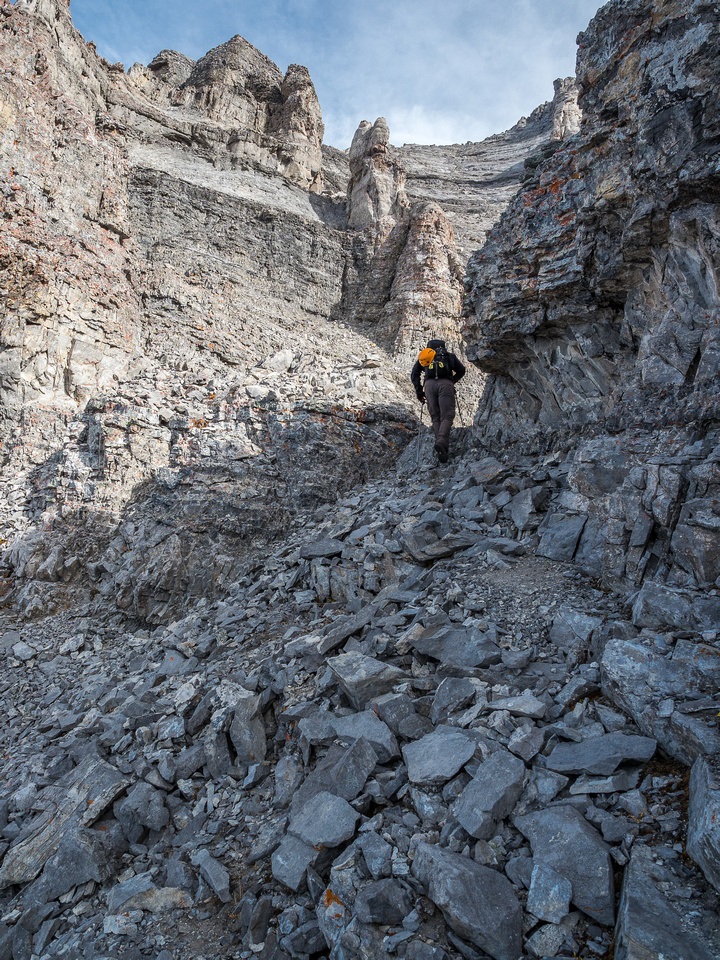
The route became pretty obvious at this point. With cliffs blocking upward progress, we traversed right (east) around them before contouring sharply up and left on smatterings of sheep and human trails. At this point we still had over 600 vertical meters to the summit and it had taken around 2 hours of steady hiking to reach this spot. Cornelius took the center of a drainage while I went further left and went up the south ridge crest. I think he had some firmer ground, but my route had great views (and a very cold wind). The scree on the ridge was the shaley type that isn’t too loose or annoying. The next 300 vertical meters went pretty quickly and soon we were staring at the terrain just below the first crux. We stayed on climber’s left of the first steep wall, scrambling easily up some interesting, curved strata and following the “path of least resistance” upwards. Right away I noticed how much more fun “solid” rock was compared to the nightmare I was on a week previous on OXO Peak.

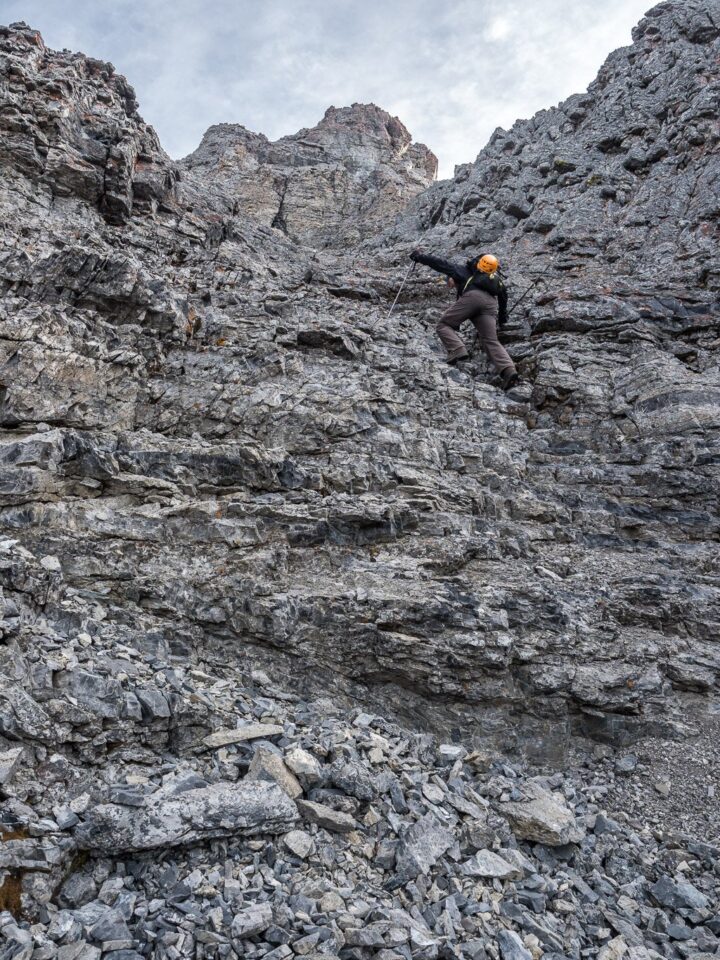
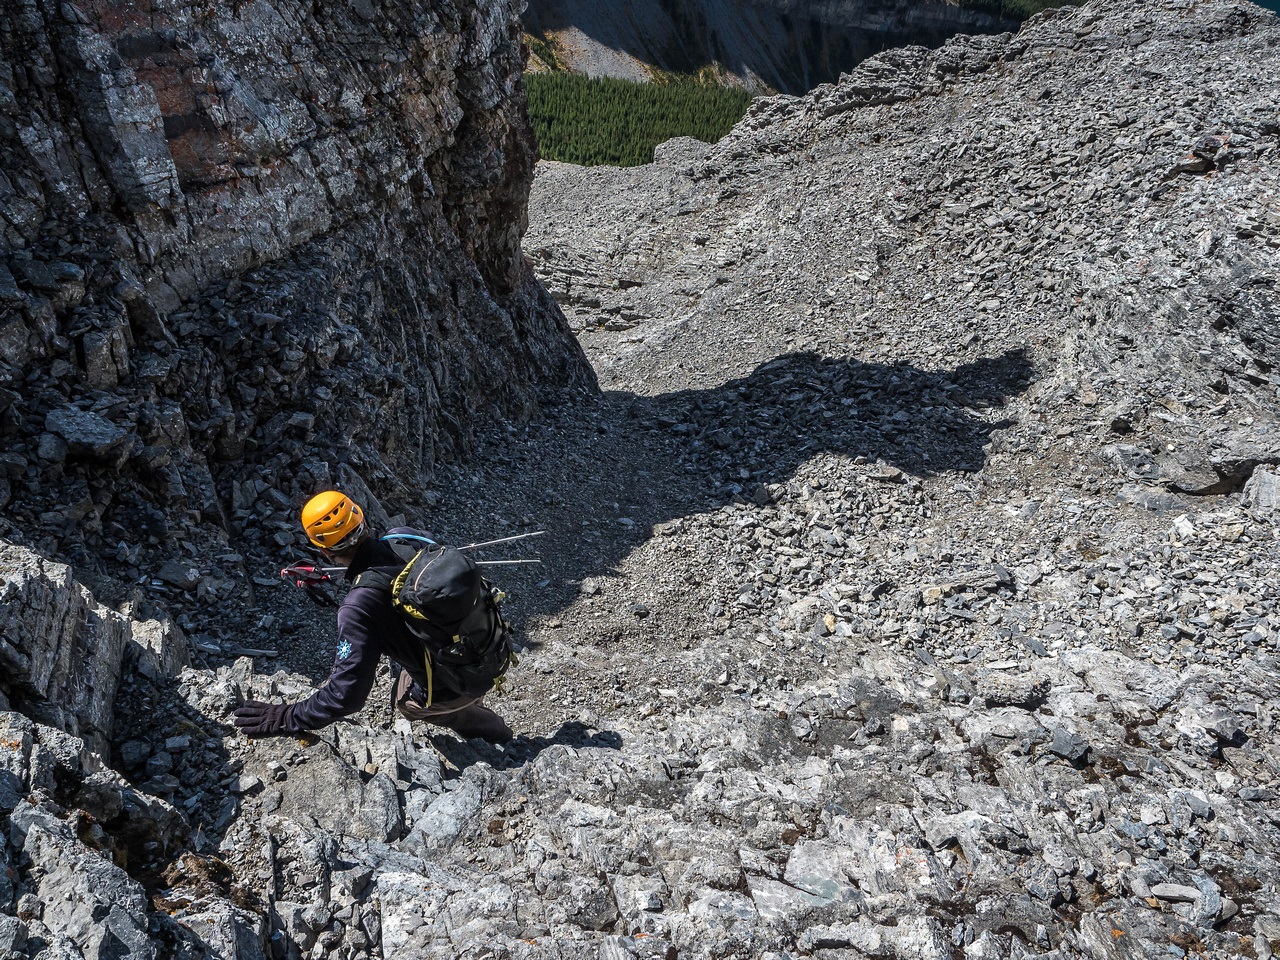
We ascended some fun ledged terrain before arriving at the first crux, sitting next to an interesting cave feature that required a delicate traverse to check out, so we didn’t bother. This crux wall is short and not very exposed, making it feel quite simple. This doesn’t mean it’s “easy” though – it is definitely 5.0-5.2 type terrain (i.e. SC7) but short enough that a fall likely wouldn’t permanently damage you. Cornelius is 6’4″, so he made the crux look pretty darn easy. I took a bit more time with it, wanting to work out some of the downclimbing moves for our descent. I do this more often on difficult terrain as it helps calm my nerves for the inevitable return. I determined that the holds were very solid compared to what I’ve been used to lately and completed the crux without any issues. After ascending a short, steep gully above this wall we arrived at the bottom of an unexpectedly large slab / scree bowl leading steeply up to the summit ridge, still a few hundred vertical meters above. We also noted a solo figure ascending the scree cone directly under this gully and wondered if they were lost. We weren’t aware of any ‘scramble’ leading directly up from the scree to this location. We must have passed this person lower down on the approach without realizing it.
We ascended the next few hundred vertical meters without issue, always sticking to reasonable terrain. There were some choices through here and the odd confusing cairn (don’t go too far right) but we stuck generally in the center of the gully on slabs and scree.


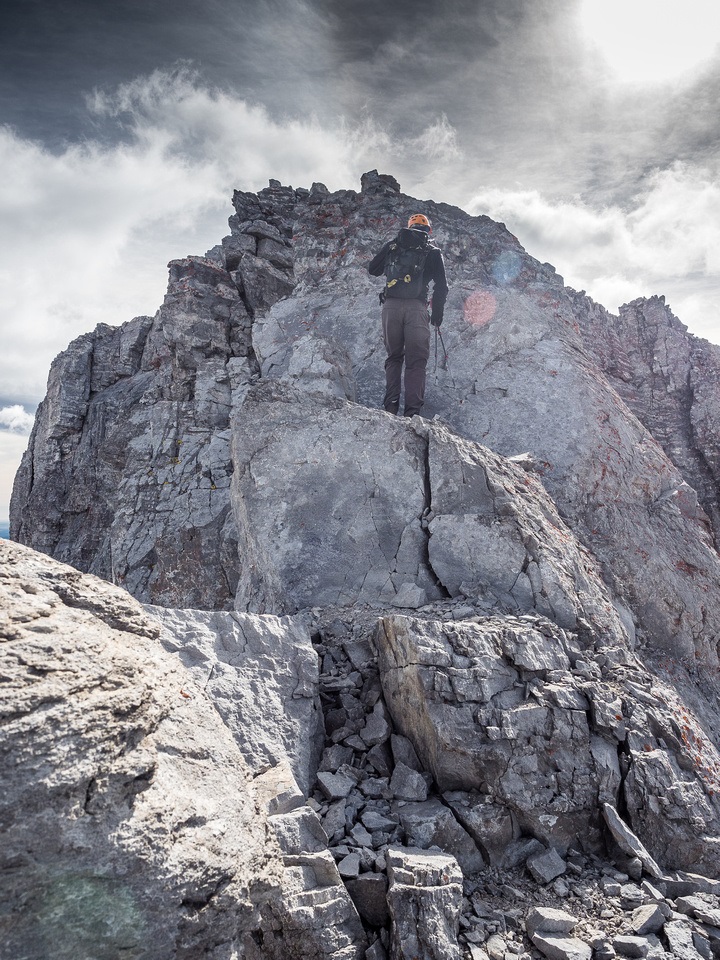
Although the mountain is loose enough to require a small team, it was delightfully solid compared to recent objectives I’d been on such as Lyautey, King Edward and OXO. As we remarked afterwards, this scramble is solid everywhere it needs to be. Speaking of where it needs to be solid, the ridge would be our second crux of the day.
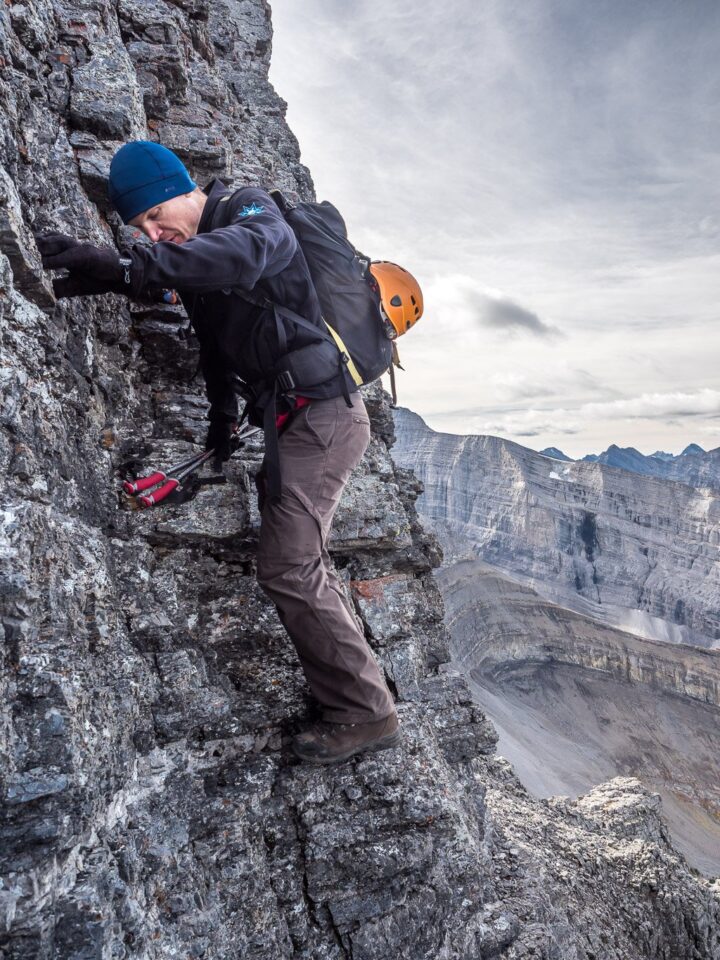
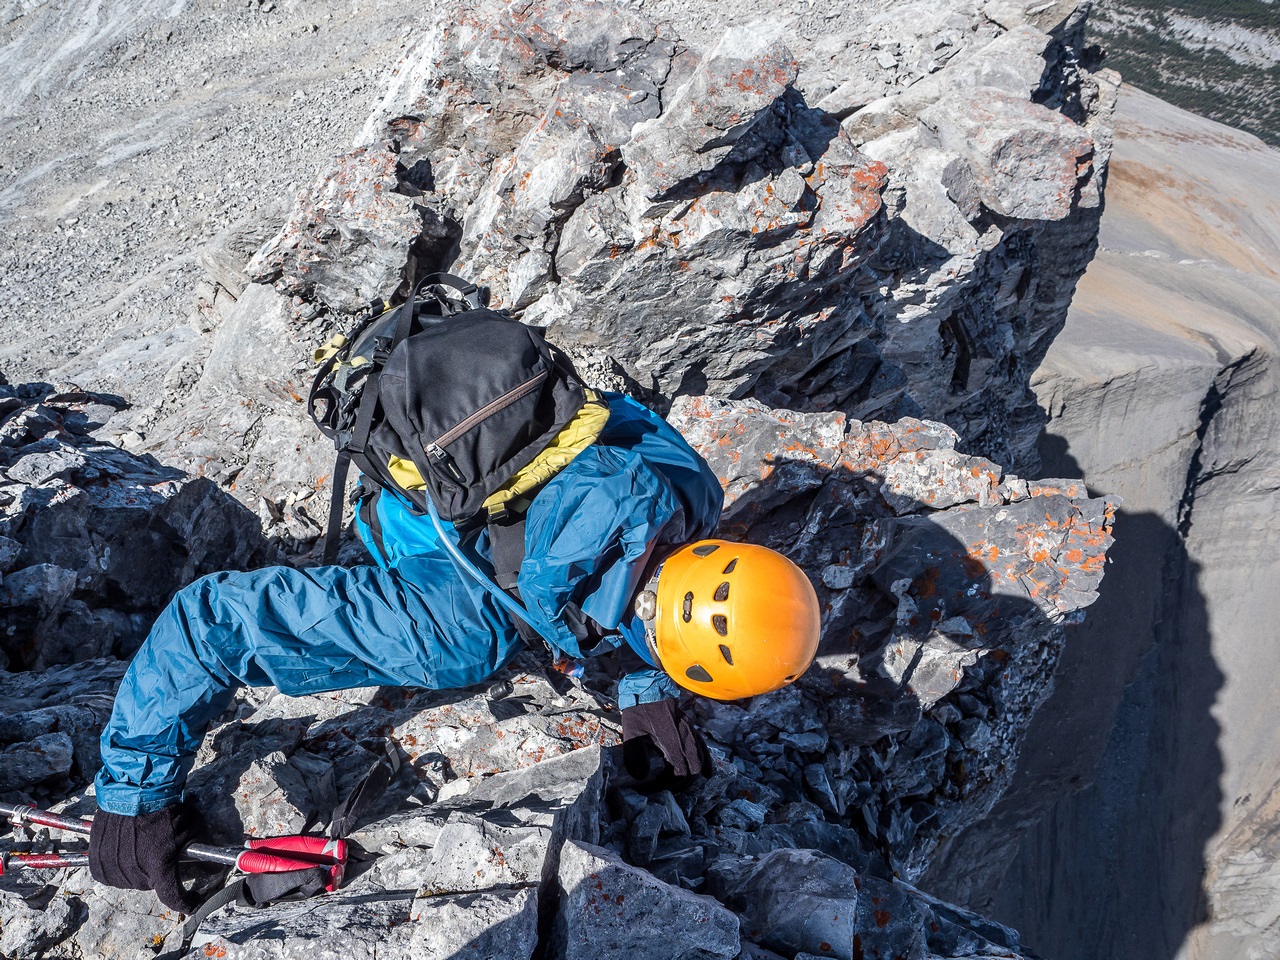
Nugara mentions by-passing difficulties on the ridge on the right, but as we topped out on the west ridge above the slabs and scree bowl, we didn’t see any obvious or easy bypasses and chose to stick right on the ridge crest instead. This involved some very exposed sections where a slip was not optional! Again, good holds were there where required, but some of them were a bit suspect. Care was certainly required for about 100 horizontal meters of ridge crest.
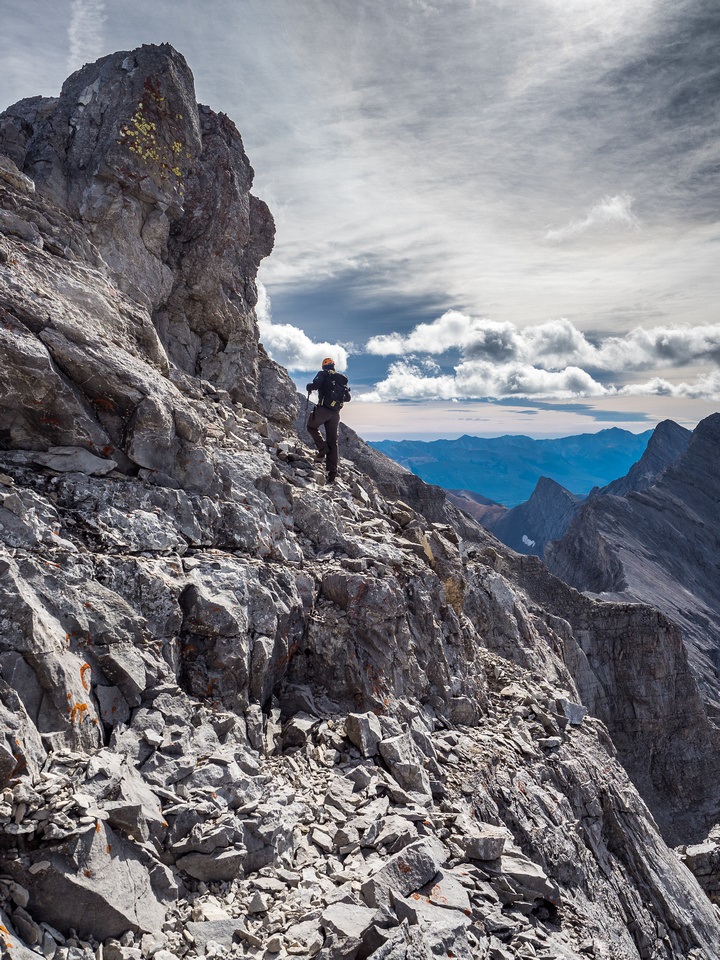
After the exposed traverse we found ourselves with even more traversing to the summit itself. We were both surprised with the amount of scrambling after the first crux – this is not a small mountain. We stuck to an obvious trail in the scree which lost some height before contouring around steep terrain just beneath the summit. Despite appearances, there is no need to do any difficult scrambling after the first section of ridge. We topped out 3.5 hours after leaving the road to a cold wind and great views in all directions.


Despite wearing toques and gloves, we quickly got cold in the stiff wind (fall was in the air) and started our descent soon after reaching the top. As we descended just under the summit we ran into Rick Thiesen. Rick seemed to be a very competent and experienced climber. He was moving very confidently and quickly and had ascended some 5th class slab directly up the gully we’d seen him below on our ascent. He was (of course) continuing on to Lougheed II via the traverse. As we parted ways, I looked back to see him ascend the most difficult line directly to the summit as if he was out for a casual hike. I’m often reminded of folks who make what I do seem like simple child’s play. It certainly keeps me humble. We retraced our steps along the exposed ridge with some delicacy before descending the slabby bowl towards the lower crux. Despite appearances it went pretty quick and easy and soon we were starting down the narrow gully to the top of the crux wall. This terrain was loose enough that descending it with others below would be very uncool for either party.


Once again Cornelius made the wall look very easy. I followed him down, finding plenty of hand and footholds where they were needed. I never put away either my poles or my camera so this should tell you a bit about how long the crux is – not very. Once again, however, I was glad to be wearing the Scarpa TX4’s on this mountain. The amount of slabby terrain and lack of really nasty boulders or scree was perfect for such footwear (if you’re used to it). Cornelius was happy with his boots, so it really does depend on one’s preferences. We finally took a longer break just below the crux wall in warm sunshine and out of the stiff breeze. The next section down to the south ridge and then from there to the bottom of the scree bowl went quickly and easily. Now we had a decision to make. Retrace our uptrack or do some exploring? The drainage below looked very inviting. Fall colors were out and the sun was shining brilliantly overhead. We decided to throw caution into the cool fall breezes and try the creekbed direct for our exit.
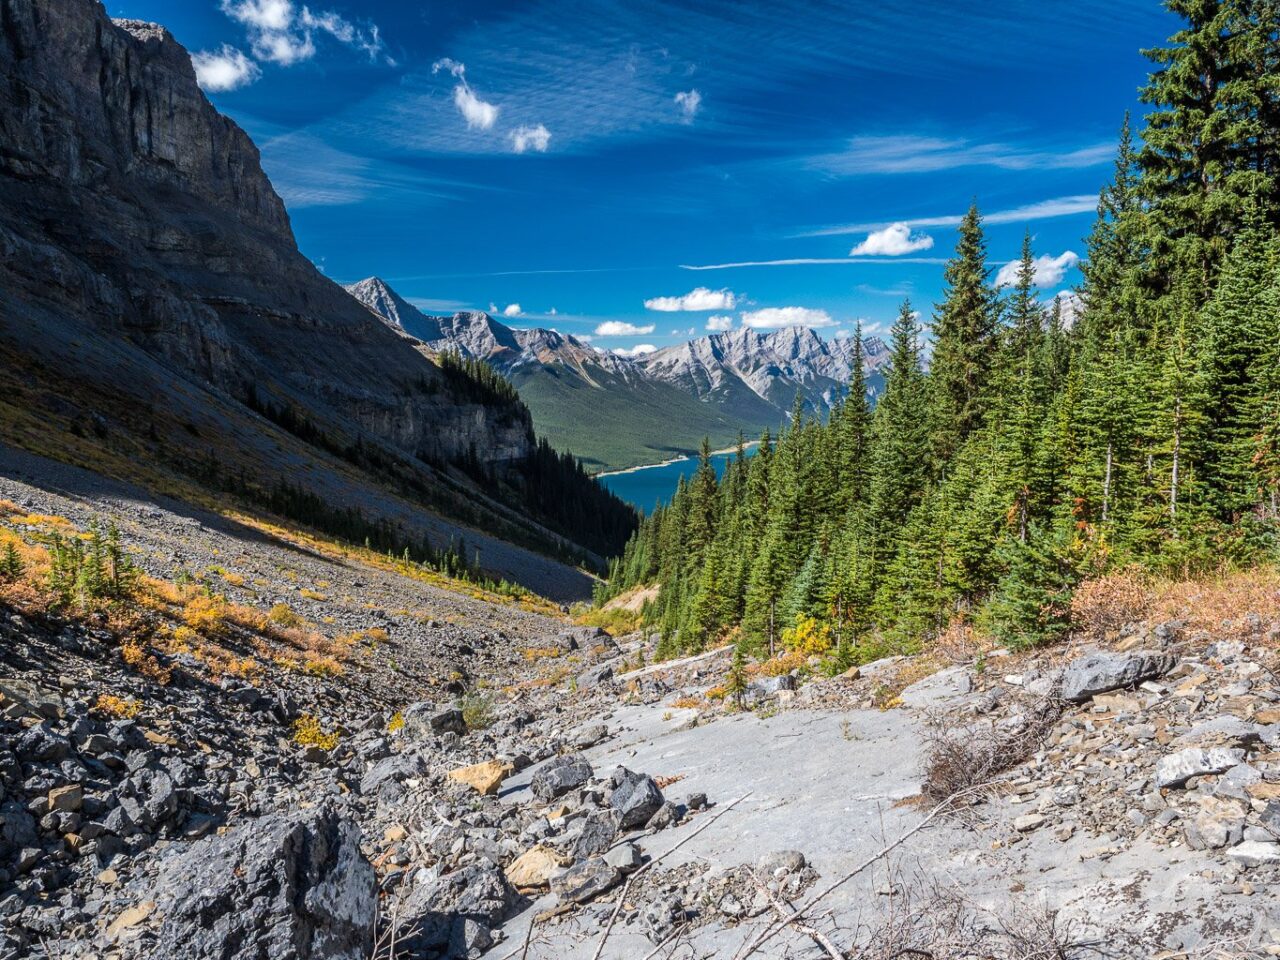
The upper drainage reminded me of the lovely Spencer Creek, one valley over to the SE. It was open and scenic with slabs, fall foliage and gorgeous views towards a sparkling Spray Lake in the distance. We were worried about the bushwhack lower down, but honestly it wasn’t that bad. Simply hiking along the left hand (south) side avoided the worst bits and before long we were already at the fork in the creek. Here we left the drainage and followed our ascent track through open and easy forest. Lougheed I was an unexpectedly fun and pleasant scramble. The weather helped, as usual, but even the scrambling was less intense and much more solid than I was expecting. The drainage and bushwhacking weren’t awful either. I can wholeheartedly recommend this trip for anyone comfortable on difficult scrambling terrain in the Rockies.